Shed-Chic: A Practical Guide to Converting a Shed Into a Home Office
A standard garden shed costs a fraction of a home extension, yet done right, it delivers something a spare bedroom never quite manages: genuine psychological separation between work and home. The commute is thirty seconds across the garden, but your brain treats it like a different building — because it is. That mental boundary alone is worth more than most people expect.

What You Need Before You Start a Shed Office Conversion
Planning Permission and Building Regulations
Before you buy a single sheet of insulation, check your local planning rules. In the UK, most single-storey outbuildings under a certain height and footprint fall under "permitted development" — meaning no formal planning application is required, as long as you're not building in a conservation area or on listed-land. Rules vary significantly by country and municipality, so a quick call to your local planning authority takes twenty minutes and can save you from having to tear the whole thing down later.
Building regulations are a separate question from planning permission. If you're adding electrical circuits, you'll likely need a certified electrician to sign off the work regardless of whether planning permission is required. Don't skip this step — it affects your home insurance too.
Assessing Your Existing Shed
Not every shed is worth converting. Thin, warped timber with a leaking roof is a money pit. Before committing, check for rot at the base plates and corner posts — these are the first places moisture attacks. A shed with solid framing, a sound roof, and a concrete or paved base is a genuinely good starting point. If the floor is bare earth, factor in the cost of a concrete slab or a raised timber floor before you do anything else.
Also measure the interior height. A ceiling below roughly 2.1 metres starts to feel oppressive after a few hours of work. It's a detail most conversion guides skip, but anyone who has spent a full day hunched under low rafters knows exactly why it matters.
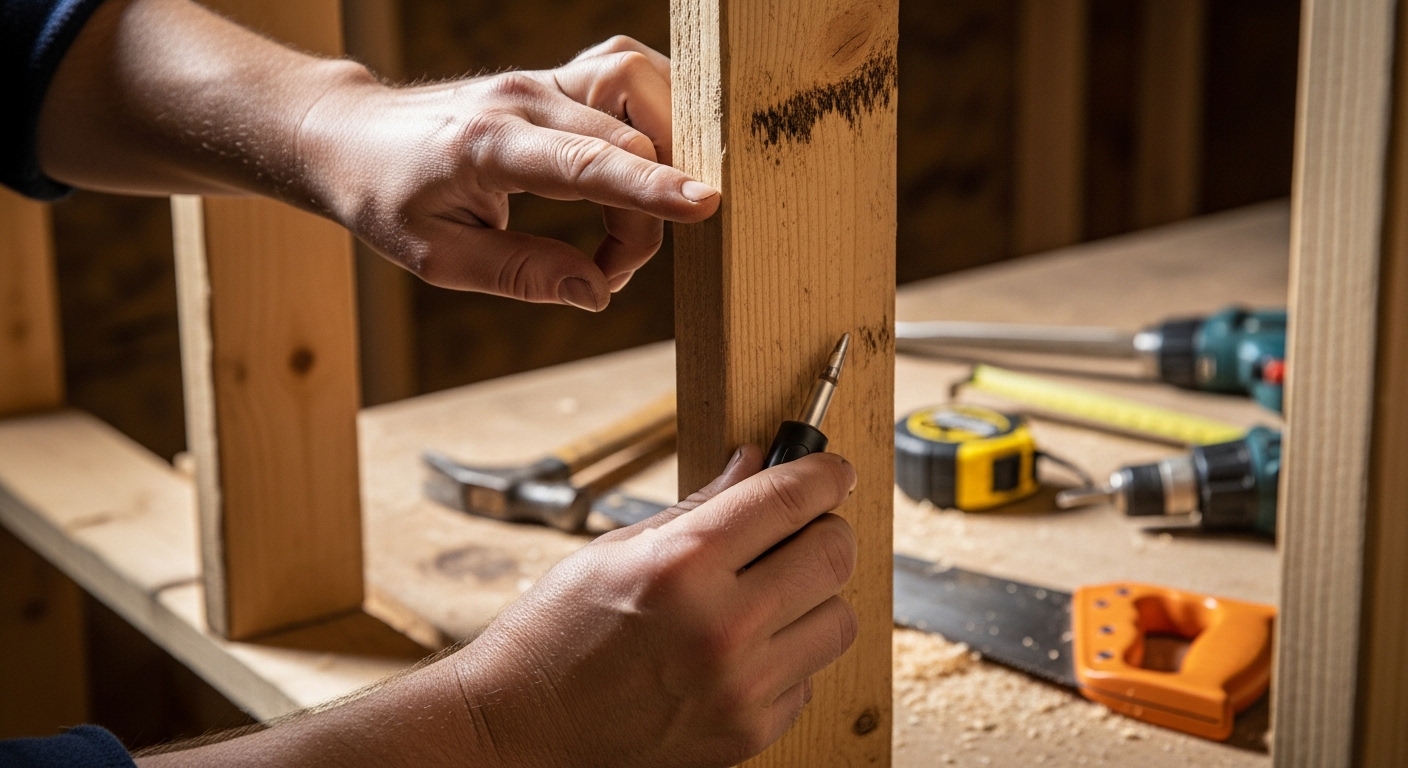
Step-by-Step Instructions for Converting Your Shed Into a Home Office
Step 1 — Insulate Walls, Floor, and Roof First
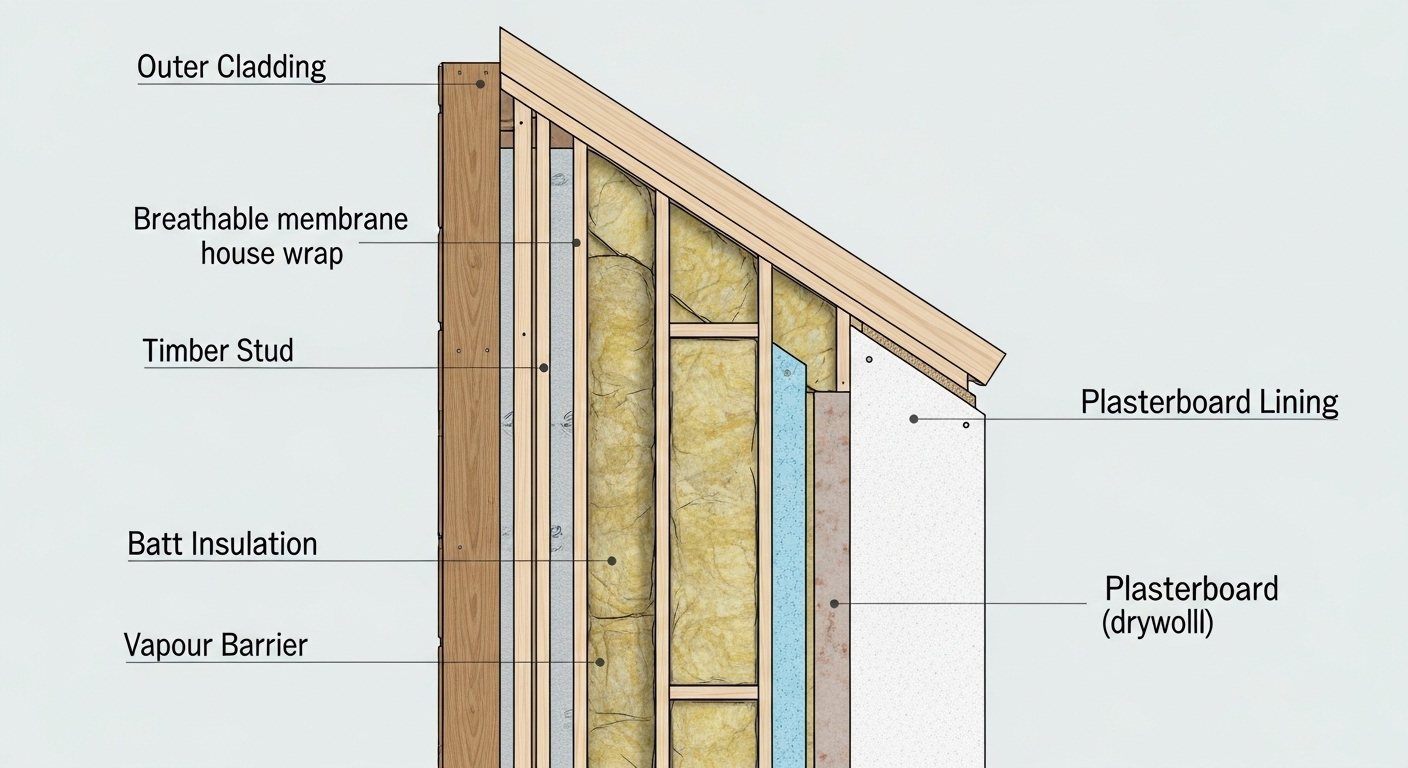
Insulation is the single most important upgrade you'll make. A shed without insulation is unusable in winter and a greenhouse in summer. For stud-framed walls, rigid foam board or mineral wool batts cut to fit between the studs are both effective. Rigid foam has a better thermal performance per millimetre of thickness, which matters if your shed walls are thin.
The roof is where most heat escapes, so don't underinsulate it to save money. If you have a pitched roof with accessible rafters, fill the rafter bays with insulation and leave a small ventilation gap at the top to prevent condensation buildup. Condensation in an unventilated roof space causes rot faster than almost anything else — this is the kind of operational detail that separates a shed that lasts ten years from one that fails in three.
For the floor, a layer of rigid insulation beneath a plywood deck raises the floor slightly but makes a dramatic difference in comfort. Cold feet on a bare concrete slab is a productivity killer that no standing desk can fix.
Step 2 — Sort Damp-Proofing and Vapour Control
Insulation without a vapour control layer is a slow disaster. Warm, moist air from inside the shed will migrate into the wall structure, hit the cold outer surface, and condense. Over months, this saturates the insulation and rots the timber. A vapour control membrane on the warm side of the insulation (the interior-facing side) prevents this. It's a cheap material that almost every DIY guide buries in a footnote — don't bury it.
Step 3 — Run Electricity Safely
You have two main options: an armoured cable buried underground from your house consumer unit, or a surface-run cable on an overhead route. Underground armoured cable is cleaner and safer long-term. It needs to be buried at the correct depth — typically at least 500mm in areas where it could be disturbed, deeper under driveways. This is not a job to improvise; hire a qualified electrician and get the work certified.
Plan your circuit load before the electrician arrives. A monitor, laptop, desk lamp, and phone charger draw modest power. Add a small electric heater and you're pulling significantly more. A dedicated 20-amp circuit gives you comfortable headroom for a typical home office setup.
Running a single 13-amp socket into a shed office feels adequate until the first cold morning you plug in a heater — plan your circuit capacity before the cables go in, not after.
Step 4 — Add Ventilation and Climate Control
A well-insulated shed with no ventilation becomes stuffy within an hour. At minimum, install a trickle vent in a window frame or a small wall vent. If you're working there full-time, a small mechanical ventilation unit is worth considering — they're quiet, energy-efficient, and maintain air quality without letting heat escape the way an open window does.
For heating, a small electric panel heater or a low-wattage infrared panel works well in a properly insulated space. Avoid gas or paraffin heaters in a small enclosed shed — the combustion byproducts are a real health hazard in a poorly ventilated space.
Step 5 — Fit Out the Interior
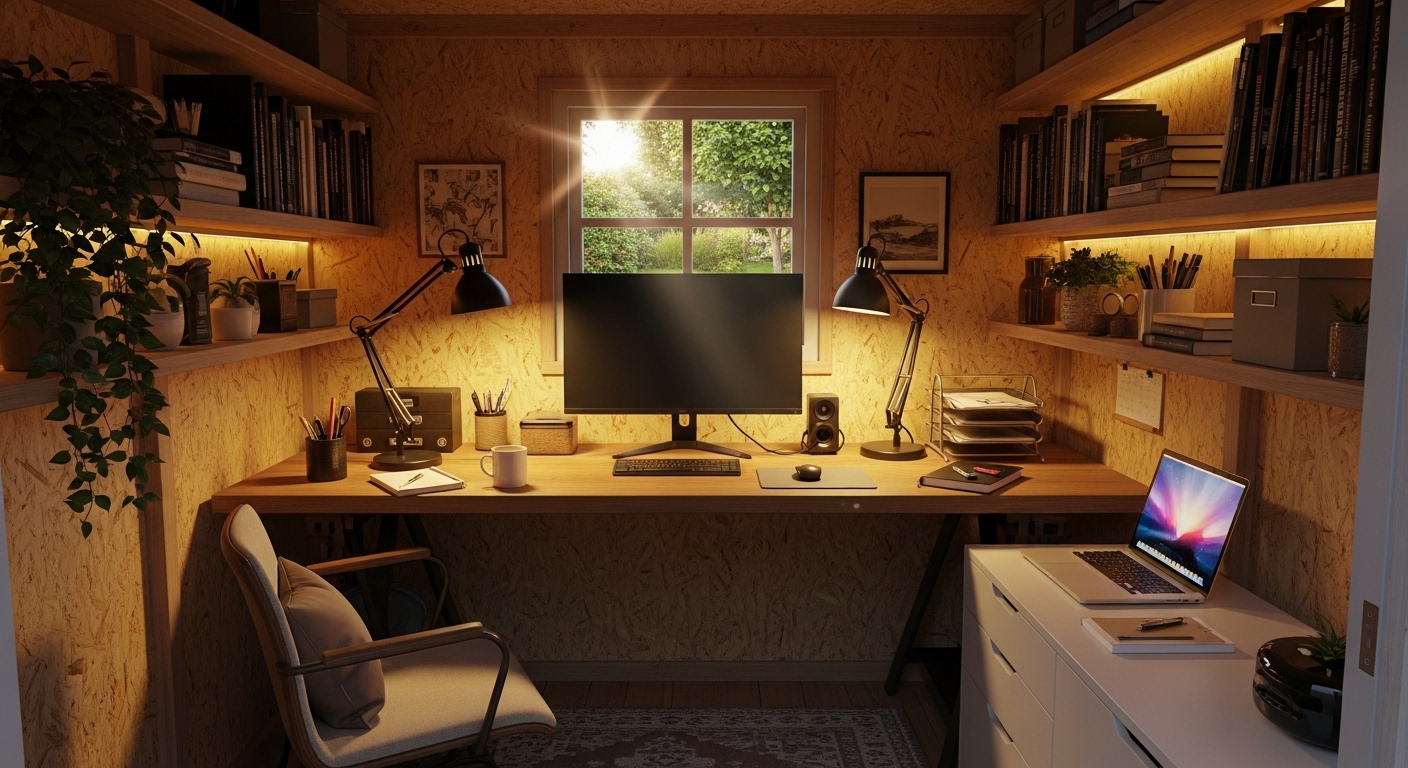
Line the walls with plasterboard or OSB (oriented strand board) over the vapour membrane. OSB gives a utilitarian, industrial look that many people actually prefer in a shed office — it takes screws anywhere, so shelving and cable management become trivially easy. Plasterboard gives a more conventional finish if you want to paint the space.
Flooring is personal, but luxury vinyl tile (LVT) over the insulated plywood deck is a practical choice: warm underfoot, easy to clean, and forgiving of minor subfloor imperfections. Carpet is comfortable but traps dust and is harder to keep clean in a space that's also a garden-adjacent building.
Common Pitfalls to Avoid in a Shed Office Build
Underestimating the Lighting Requirement
Natural light in a standard shed is limited. A single small window that looked fine for storing garden tools becomes a problem when you're staring at a screen for six hours. Adding a roof light (skylight) is one of the highest-impact upgrades you can make — it floods the space with daylight without sacrificing wall space for a desk. If a skylight isn't feasible, at least plan for layered artificial lighting: ambient overhead light plus a task lamp, not just a single ceiling bulb.
Forgetting Internet Connectivity
Wi-Fi signal from the house often degrades significantly across a garden, especially through walls and foliage. Run a network cable at the same time as the electrical cable — it's trivially cheap to add a data conduit while the trench is already open, and catastrophically inconvenient to dig it up again later. A wired ethernet connection to a small switch in the shed gives you fast, reliable internet that doesn't drop during video calls.
Dig the trench once: run both the power cable and a network conduit at the same time. Going back to open the ground later costs more than the conduit itself.
Skipping Acoustic Treatment
A timber shed transmits sound surprisingly well. Neighbours, lawnmowers, and passing traffic all become part of your workday. The insulation you've already installed helps, but adding a second layer of plasterboard with acoustic compound between the layers makes a noticeable difference. It's not soundproofing in the studio sense, but it takes the edge off ambient noise without significant extra cost.
Pro Tips to Speed Things Up and Improve the Finished Result
Buy a Larger Shed Than You Think You Need
The most common regret in shed office builds is going too small. A 2.4m x 3m shed feels workable on paper but leaves almost no room for storage, a second chair, or a printer. A 3m x 4m footprint gives you a genuinely comfortable workspace. The cost difference between sizes is usually modest relative to the total project cost once insulation, electrics, and fit-out are included.
Use a Prefabricated Insulated Pod as a Shortcut
Several manufacturers now sell purpose-built garden office pods with insulation, cladding, and sometimes electrics pre-installed. They cost more than a basic shed conversion, but the build time is measured in days rather than weeks. For someone without DIY confidence, the premium is often worth it. The quality varies considerably between suppliers, so look for independent reviews and ask to see completed installations before committing.
Think About Security Early
A shed full of computer equipment is a target. A solid-core door with a multi-point lock, a hasp and padlock on any secondary access, and a motion-activated light are basic deterrents. If you're storing expensive equipment overnight, check whether your home contents insurance covers items in outbuildings — many standard policies cap outbuilding coverage at a relatively low figure, and you may need to declare the shed as a workspace to maintain valid cover.
(Opinion: The prefabricated pod route gets dismissed as expensive by a lot of DIY-focused guides, but for anyone who has watched a self-build project drag on for four months while they're still working from the kitchen table, the time cost of a slow build is real money too.)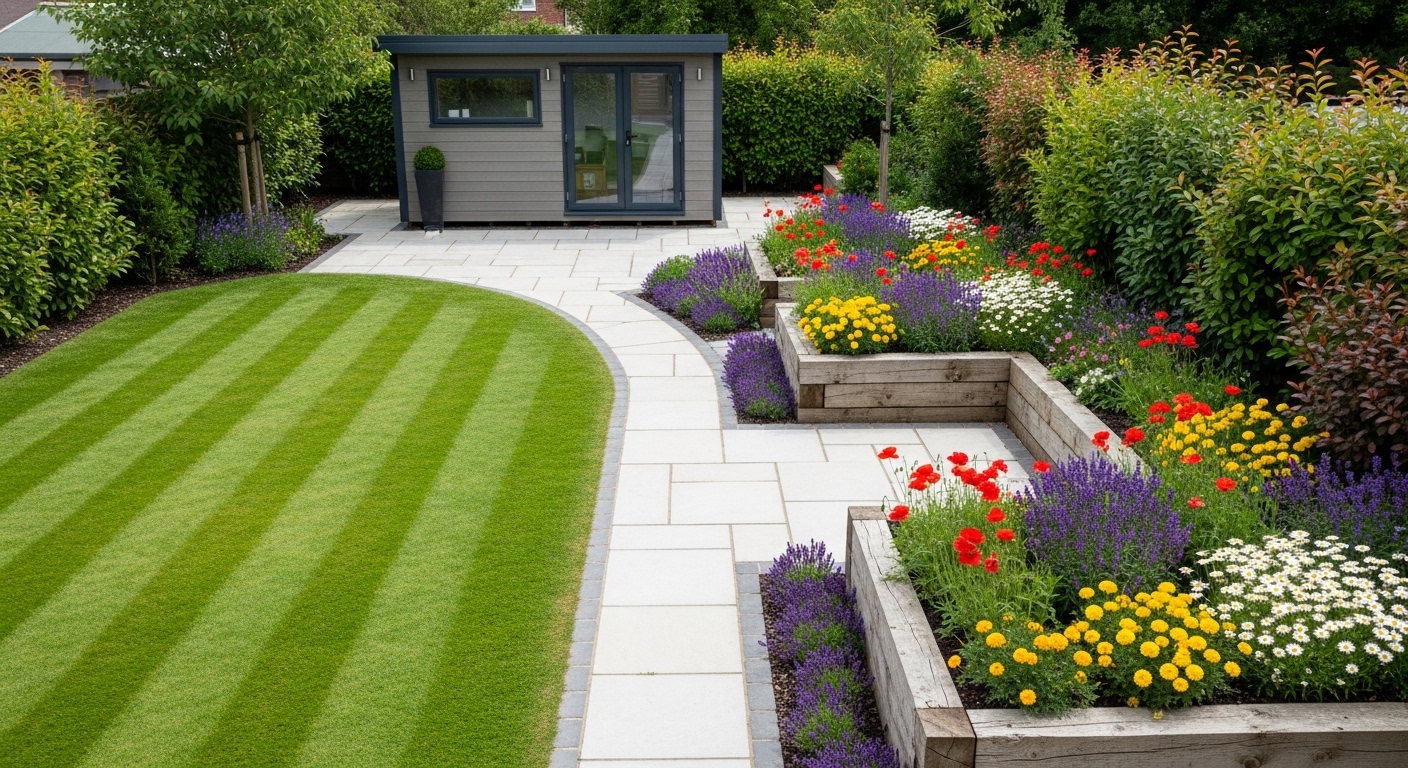
Frequently Asked Questions
Do I need planning permission to convert a shed into a home office?
In many countries, small outbuildings used for non-residential purposes fall under permitted development rights, meaning no formal planning application is needed. However, rules vary by location, building size, and whether your property is in a designated area. Always check with your local planning authority before starting work — the rules are more nuanced than most online summaries suggest.
How much does a shed office conversion typically cost?
Costs vary widely depending on shed size, existing condition, and finish level. A basic conversion of an existing shed — insulation, electrics, lining, and simple fit-out — might run from a few thousand pounds or dollars upward. A purpose-built insulated pod with professional installation can cost several times more. Figures vary considerably by region and specification, so get at least two or three quotes before budgeting.
Can I use a shed office in winter without it being freezing cold?
Yes, but only if it's properly insulated. An uninsulated shed is genuinely unusable in cold weather. A well-insulated shed with a small electric panel heater reaches a comfortable working temperature within fifteen to twenty minutes and holds it efficiently throughout the day. The insulation investment pays back quickly in reduced heating costs and year-round usability.
A shed office done properly isn't a compromise — it's a fundamentally different way of organising your working life. The people who regret it are almost always the ones who cut corners on insulation or electrics and ended up with a cold, dim box that felt worse than the kitchen table. The people who get it right tend to wonder why they waited so long. There's something quietly subversive about the fact that one of the best productivity upgrades available to a homeowner is a timber structure at the bottom of the garden — and that the main barrier is usually just the willingness to start.


Comments
Post a Comment